Hi there! Today we have a fall photoshoot of Sophie (and a bonus tutorial for corn on the cob!). If you want to, just skip right ahead to the tutorial. It's at the bottom. ;)

 |
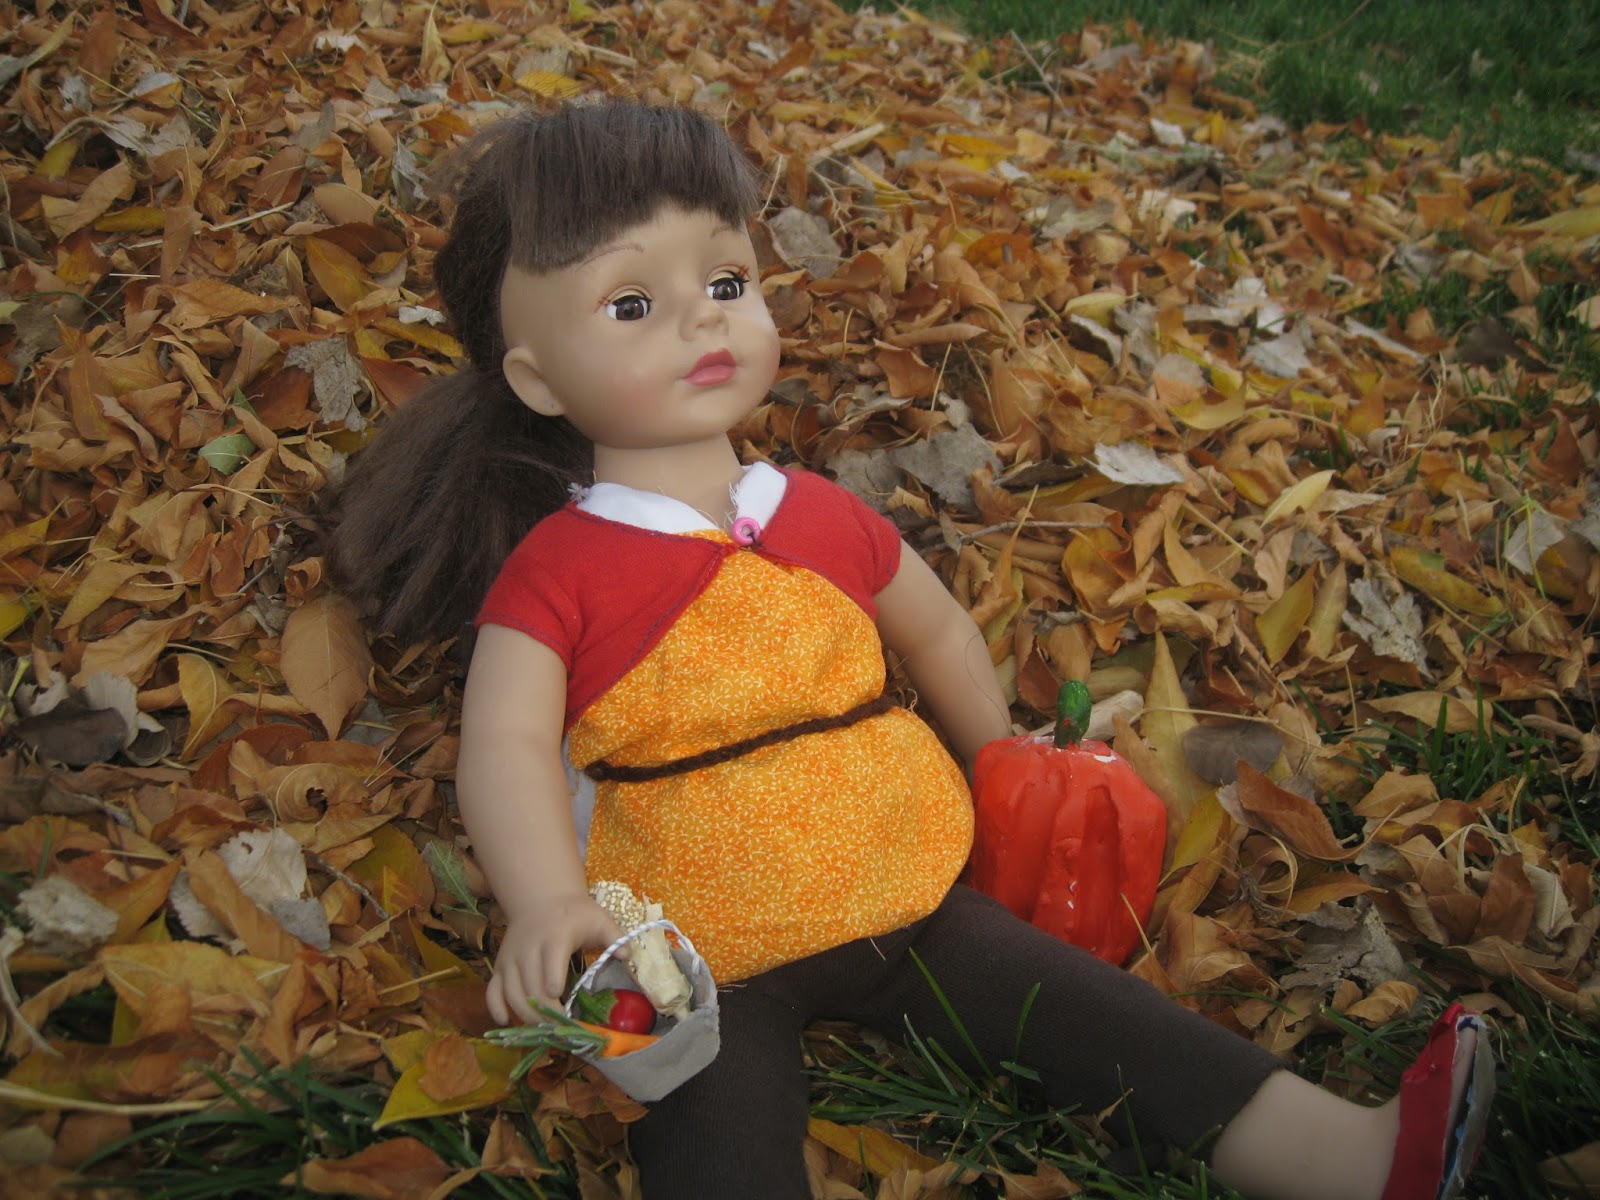
| As you can see, Sophie is holding a basket of recently harvested food: two carrots, a bell pepper and some corn on the cob. |
 |
| She is also sitting next to a pumpkin. :P |

 |
| The basket is made from an egg carton cup with a twist tie handle. |
 |
| Ahh, I really like this photo! |

 |
| The carrots are made from clay with a bit of lavender for tops. The bell pepper is an actual mini bell pepper that we grew in our garden. (I don't even like bell peppers, but these were so cute and tiny I just decided to plant some. ;) |

 |
| I love how the light filtered through the trees in this picture. |
 |
| Oh, look! IT's the kitty photobomber again! For some reason my cat likes to hang around when I'm doing photoshoots.... |
 |
| Heheh.... |
 |
| I really like this picture! |

 |
| Aaand here's the last photo in the photoshoot! I would have done more, but the camera was almost out of battery.... |
Now for the tutorial! :) You will need:
 |
| A stub of crayon (I prefer yellow), masking tape and quinoa OR alphabet noodles. |
 |
| 1. Wrap masking tape around the crayon with the sticky side out, so the tape can easily slide around. |
 |
| 2. Rip a piece of masking tape in half lengthwise and place it, sticky side out, on the end of the crayon and press down the edges. Do this again with the other piece, making a kind of X shape on the crayon end. |
 |
| It should now look like this. (And now there's a gap in the pictures. I usually get ahead of myself and forget to take pictures at some point. :P) |
 |
| To get your corn looking like this, make a line of hot glue on the tape and dip the glue in crushed alphabet noodles or quinoa, depending on which one you're using. Do this until your corn is covered. Now on the crayon end without tape, rip some strips of masking tape with pointy ends and place them on the corn for husks. Then get another unripped piece of tape and wrap it around the bottom of the cob, being sure to let about 3/4s of it hang over the edge. Twist the tape into a stick thingy for the 'handle.' |
 |
| If you used quinoa, you may want to coat it in hot glue using the same method as in my granola bar tutorial. |
 |
| Now you're done! :) |
I hope you enjoyed this tutorial and photoshoot! I'm going to see if I can beat my record and do three posts this month instead of two, so be expecting more! (Or maybe don't... :P I usually procrastinate...)
Anyways! Happy Fall! :)
-bluehorse
No comments:
Post a Comment