Hi there! Today we have a tutorial to make this super cute pumpkin costume for your 18" friends, just in time for Halloween!
 |
| Stuff you'll need: 2 pieces of 12"x 24" orange fabric, a 6" piece of Velcro (or two 3" pieces), a 20" strip (or two 10" strips) of 1-inch elastic, a sewing machine, and a 12" x 24" piece of quilt batting. (I didn't have any, so I used some foam padding stuff, but I think batting would be easier to sew.) |
 |
1. Sandwich the batting/foam pad between the two pieces of
cloth and fold the edge over about 1". |
 |
2. Cut the Velcro in half and pull it apart (if you haven't already)
and sew the first piece about 2" from the top on the folded over
edge of the 'sandwich.' Sew the second piece about 2" from the
bottom. |
 |
3. For this side, you'll want to pin the edge over (make sure
you pin it on the same side as the other is sewed!) and then flip
it to the other side to sew the Velcro on. |
 |
4.You may also want to fold the edge over to almost meet the other
edge so you can pin the Velcro on in the right spot. |
 |
| 5. Now sew on the pinned pieces of Velcro. |
 |
6. Folding the Velcro over to meet the other Velcro, it should
look like this. |
 |
7. Now, about 3 inches from one edge (either one works), stitch
a lineall the way through parallel to the edge. (MAKE SURE
NOT TO BACK STITCH THIS SEAM!) |
 |
8. Pull one of the threads from the seam you just sewed to
gather the cloth. Don't pull it all the way out! |
 |
9. Now sew right next to the gathered seam, this time back
stitching,to hold the gather in place. |
 |
| 10.Now pull the gather thread all the way out. |
 |
11. Repeat steps 7-10, each time stitching about 3 inches farther
away from the edge, until your cloth looks like the picture below. |
 |
| It should now look something like this. |
 |
12. Sew a 10" piece of elastic on the top edge, folding it over.
(See, I always forget to take pictures for some step! xD)You may
want to hand-sew the elastic on. I broke 2 sewing machine needles
on that seam...) (Ahh I forgot to take pictures for the next step,
too, apparently! I thought I did, though...) Do this again with
the bottom edge. |
 |
| Now that the pumpkin part is done, we can do the hat. |
 |
Stuff you'll need: More orange cloth (probably a 3"x 8" strip), a paper cup,
scissors, a hot glue gun, stretchy string and the top of a pepper. |
 |
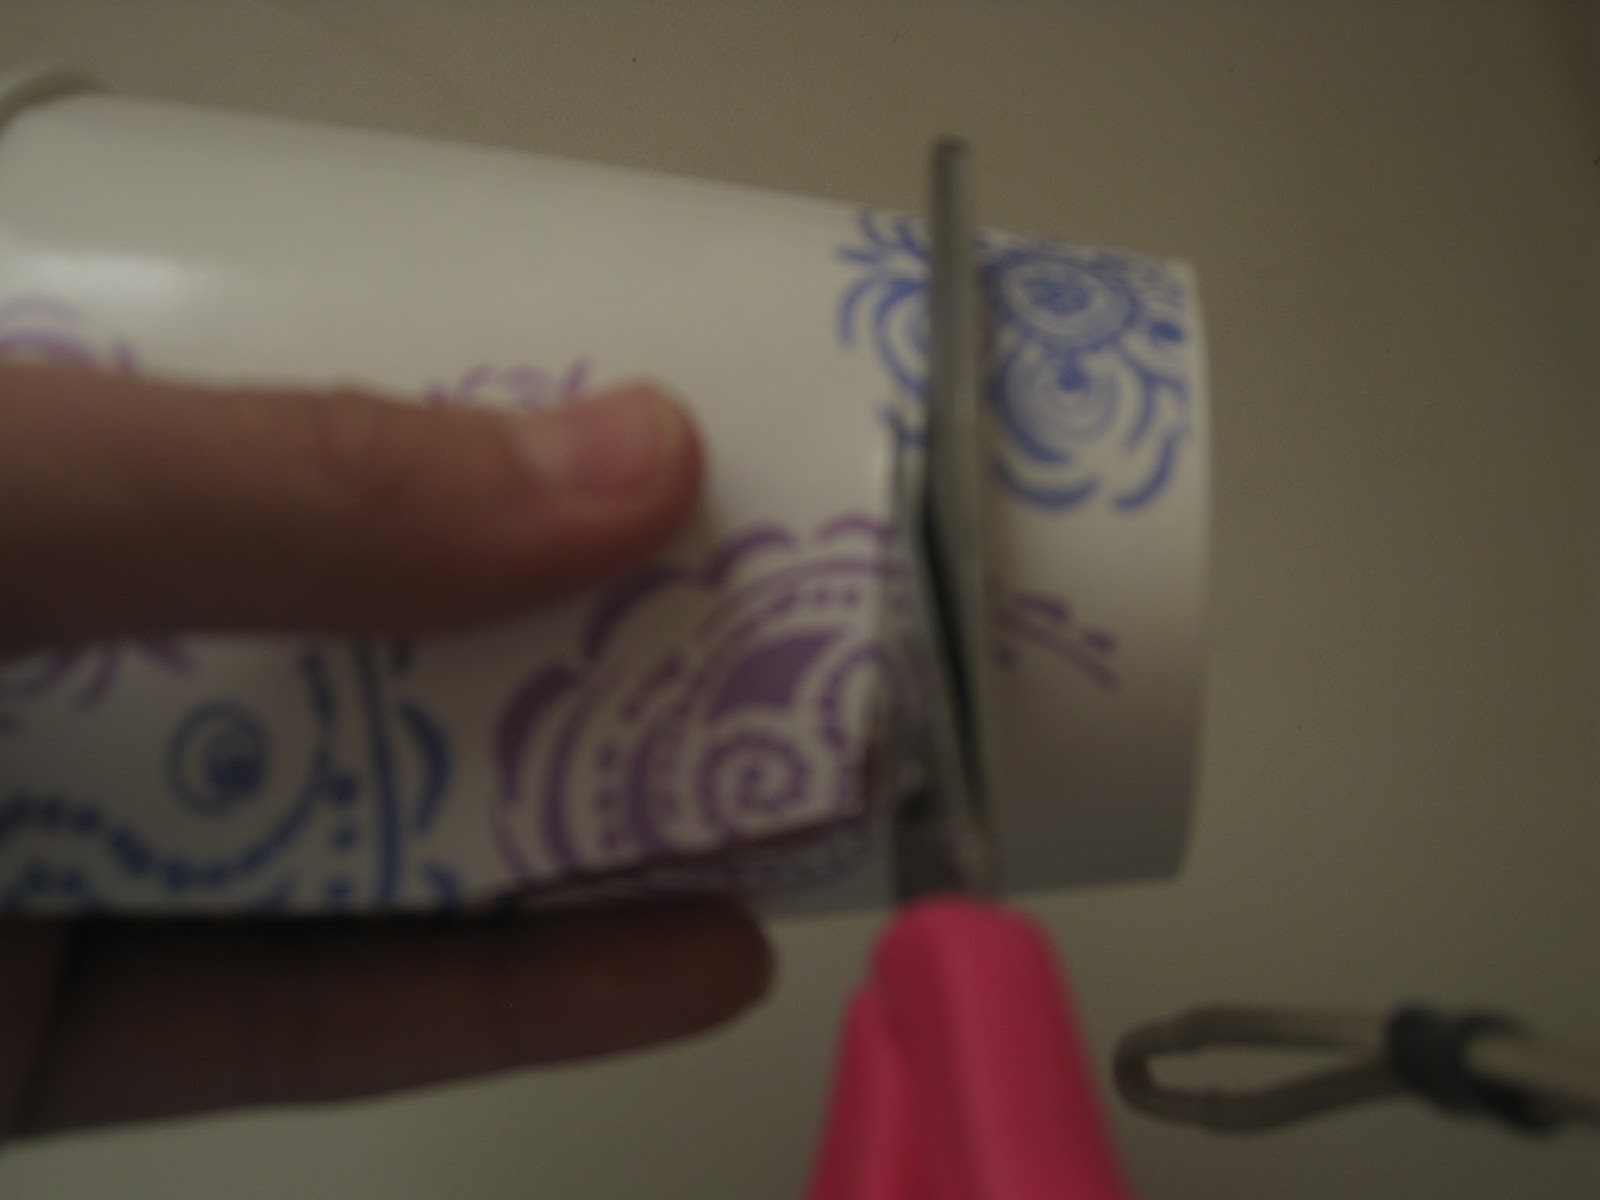
| 1. Cut the cup about 1" from the top, making a dish-like thingy. |
 |
2. Now cut the rim off the bottom of the cup (don't
cut too closely, though! It could cut the bottom off). |
 |
3. Hot glue the strip of orange cloth around the dish thingy, making
sure the long edge of the cloth pokes over the bottom. |
 |
| 4. It should now look something like this. |
 |
5. Squirt some hot glue in the middle of the bottom of the cup
and fold the cloth over to the center. |
 |
| 6. Now it should look like this. |
 |
| 7. Glue the pepper top on top of the hat. |
 |
| 8. Now poke a hole in the side of the hat... |
 |
| ...and one in the opposite side. |
 |
9. String some stretchy string through the holes and tie the ends in
knots, making a chin strap thingy. |
 |
| 10. Now it's done! |
 |
| Ta daa! xD |
I hope you enjoyed this tutorial! What tutorial should I do next?


No comments:
Post a Comment